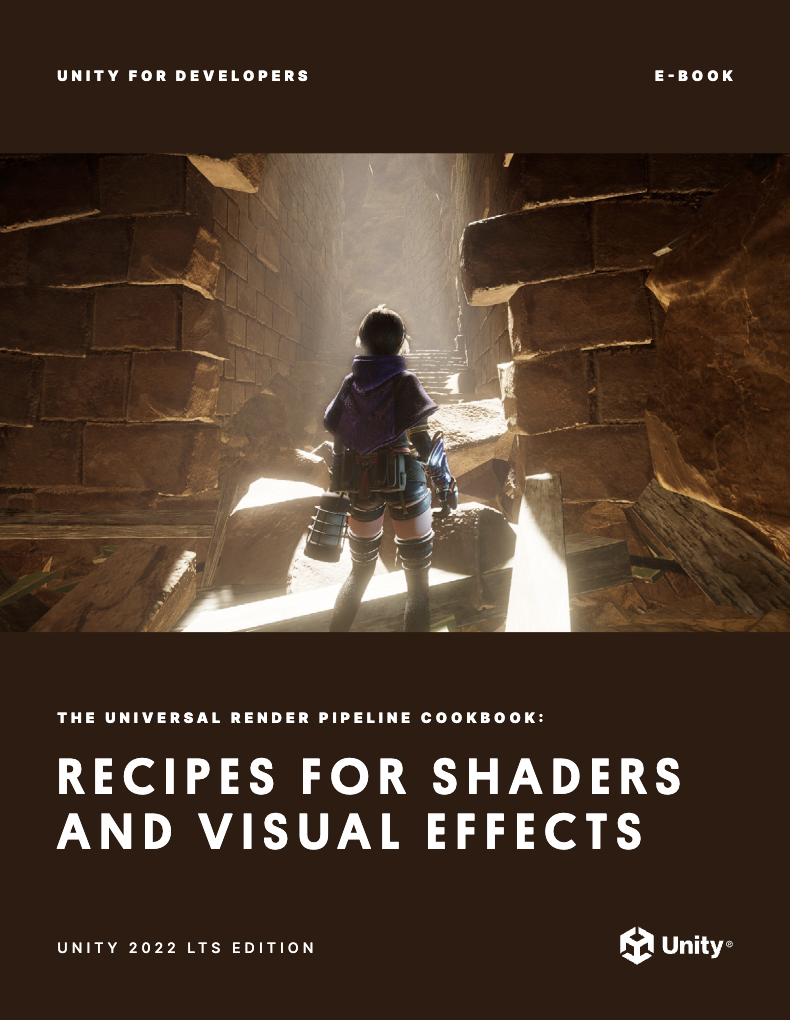
The latest cookbook, I’ve written for Unity is now live. It is all about Universal Render Pipeline (URP) effects and is now available to download for free. The e-book provides 12 recipes for popular visual effects that can be applied to a wide range of games, art styles, and platforms. Get ready to cook up Renderer Features, GPU-instantiated meshes, decals, volumetric materials, and more. You can use it alongside my other Unity e-book, Introduction to the Universal Render Pipeline for advanced Unity creators , which offers a wealth of information about how to use URP for creators that have developed projects with the Built-In Render Pipeline.
To celebrate the launch of the new e-book my Udemy course “The Complete Guide to Unity’s Universal Render Pipeline (URP)”, is available for less than $10 until 9th July 2023.
Here’s a handy overview of the recipes you’ll find in the book.
1. Stencils
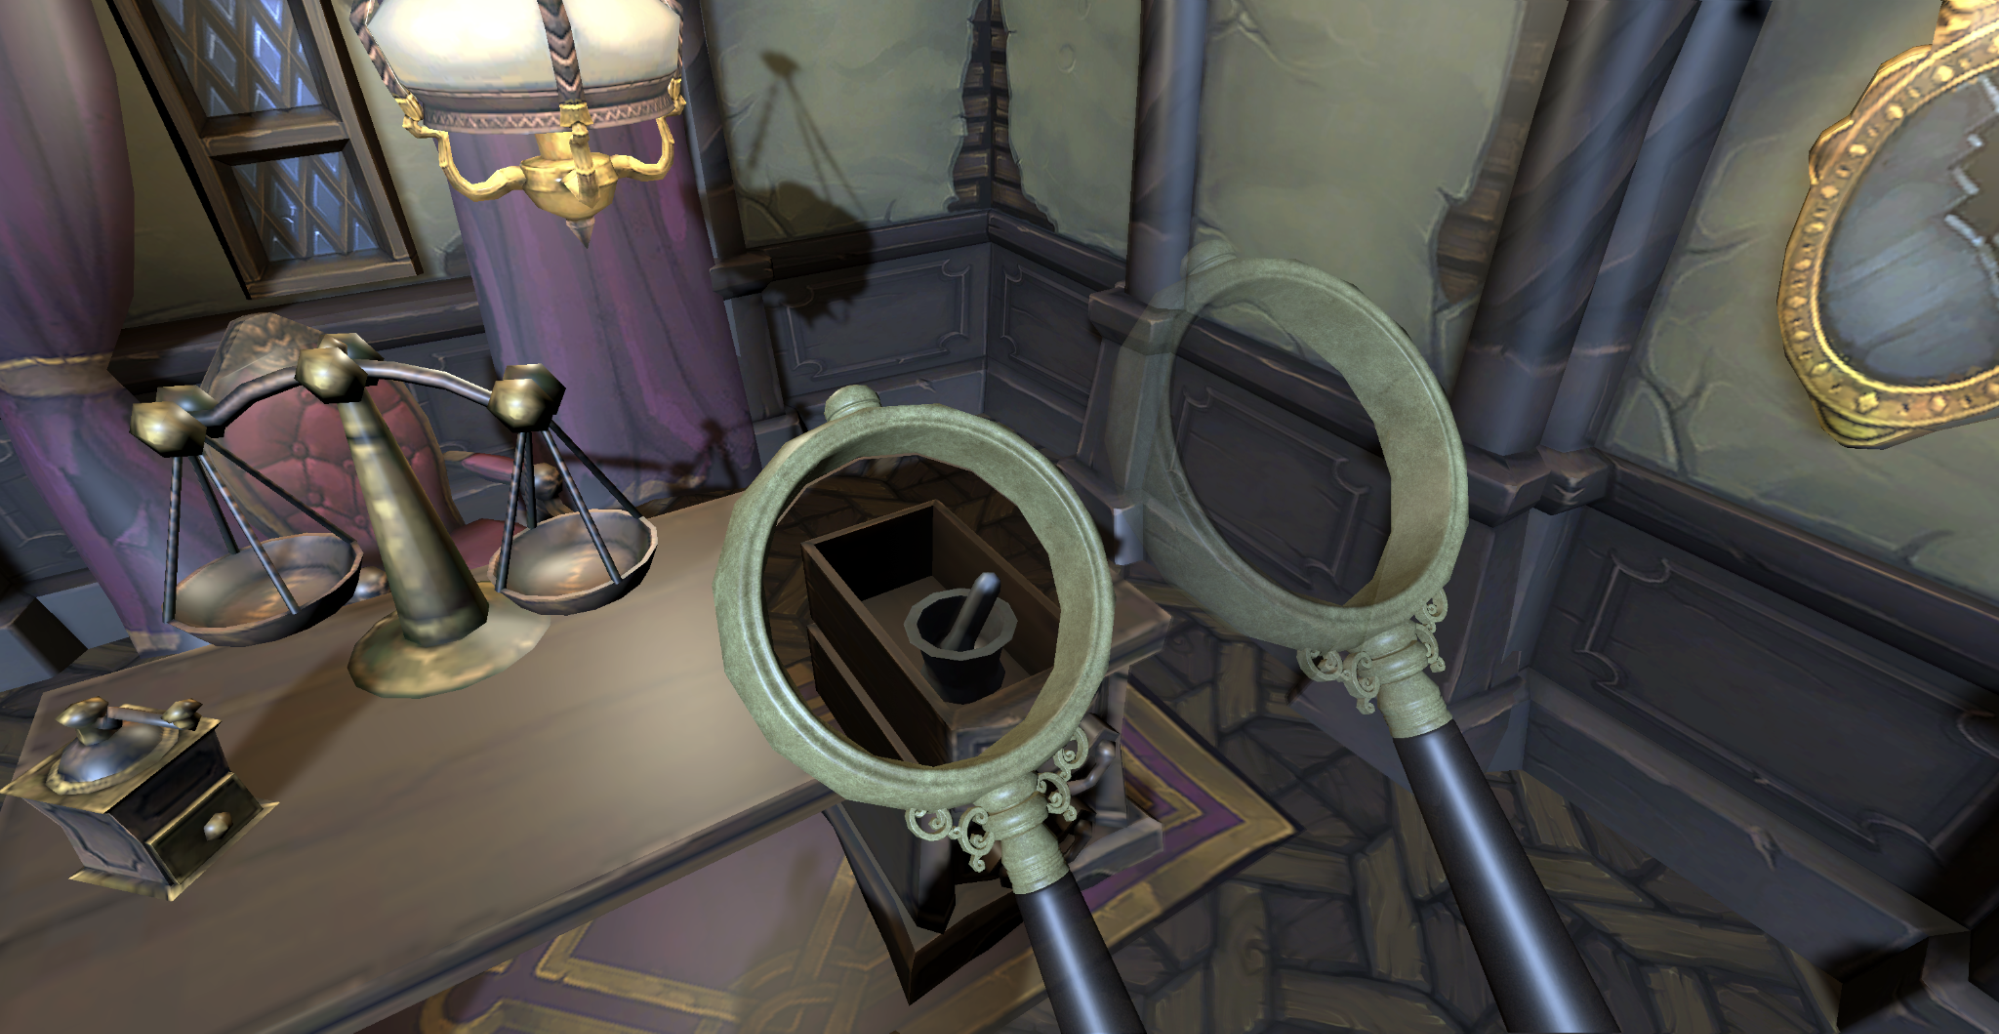
Renderer features provide you with ample opportunities to experiment with lighting and effects. This recipe focuses on Stencils, using only the bare minimum of required code. If you work alongside the sample project, open the sample scene via Scenes > Renderer Features > SmallRoom – Stencil in the Editor.
The sample project uses the magnifying glass over desk example, and the aim is to convert the lens of the magnifying glass so that it allows you to see through the desk like an x-ray image. The approach uses a combination of Layer Masks, shaders, and Renderer features.
Renderer Features are a great way to achieve dramatic custom effects or gameplay possibilities.
2. Instancing
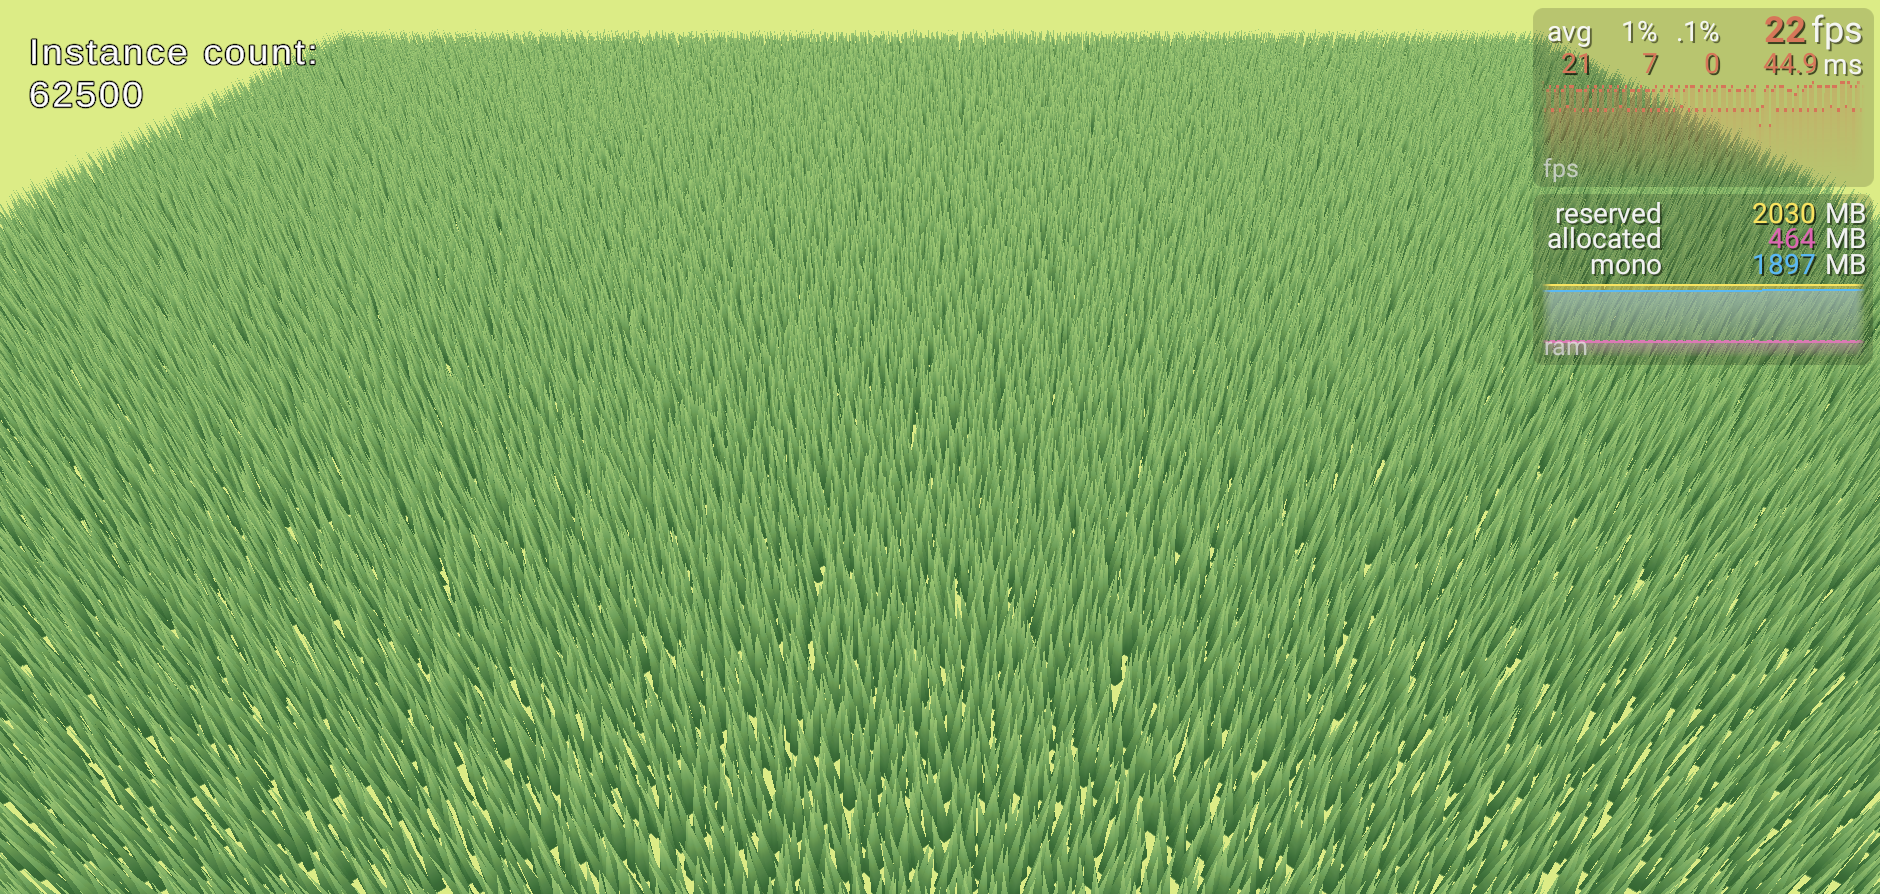
Exchanging data between CPU and GPU is a major bottleneck in the rendering pipeline. If you have a model that needs to be rendered many times using the same geometry and material, then Unity provides some great tools to do so, which are covered in the cookbook’s instancing chapter.
This recipe uses a field full of grass to illustrate the concept of instancing. It uses the SRP Batcher, GPU instancing, RenderMeshPrimitives, and ComputeBuffers.
3. Toon and outline shading
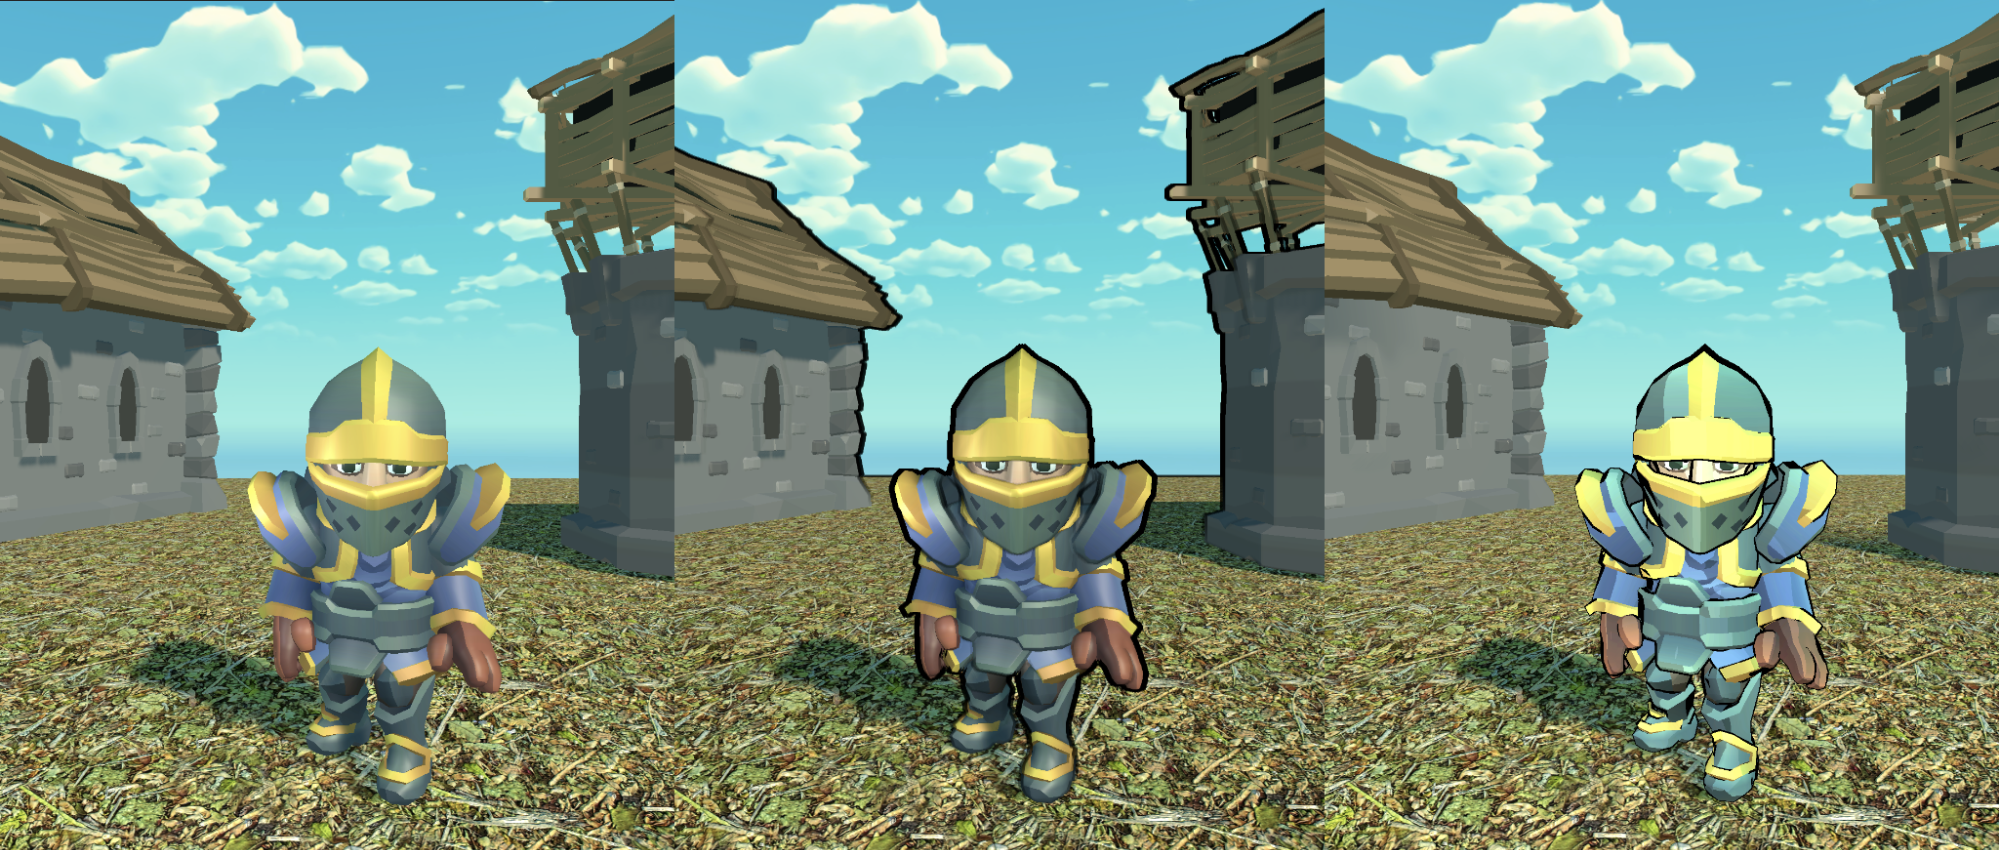
Often used together, toon and outline shaders present two distinct challenges. The toon shader takes the cooler that would be created using a URP-compatible Lit shader, and ramps the output rather than allowing continuous gradients, thereby requiring a custom lighting model.
The example in this recipe uses Shader Graph. However, Shader Graph doesn’t support custom lighting, so there’s no node available to directly access the Main and Additional Lights. Instead, you can leverage a custom node to access those.
Check out the Toon and outline shading recipe to get the full details.
4. Ambient Occlusion
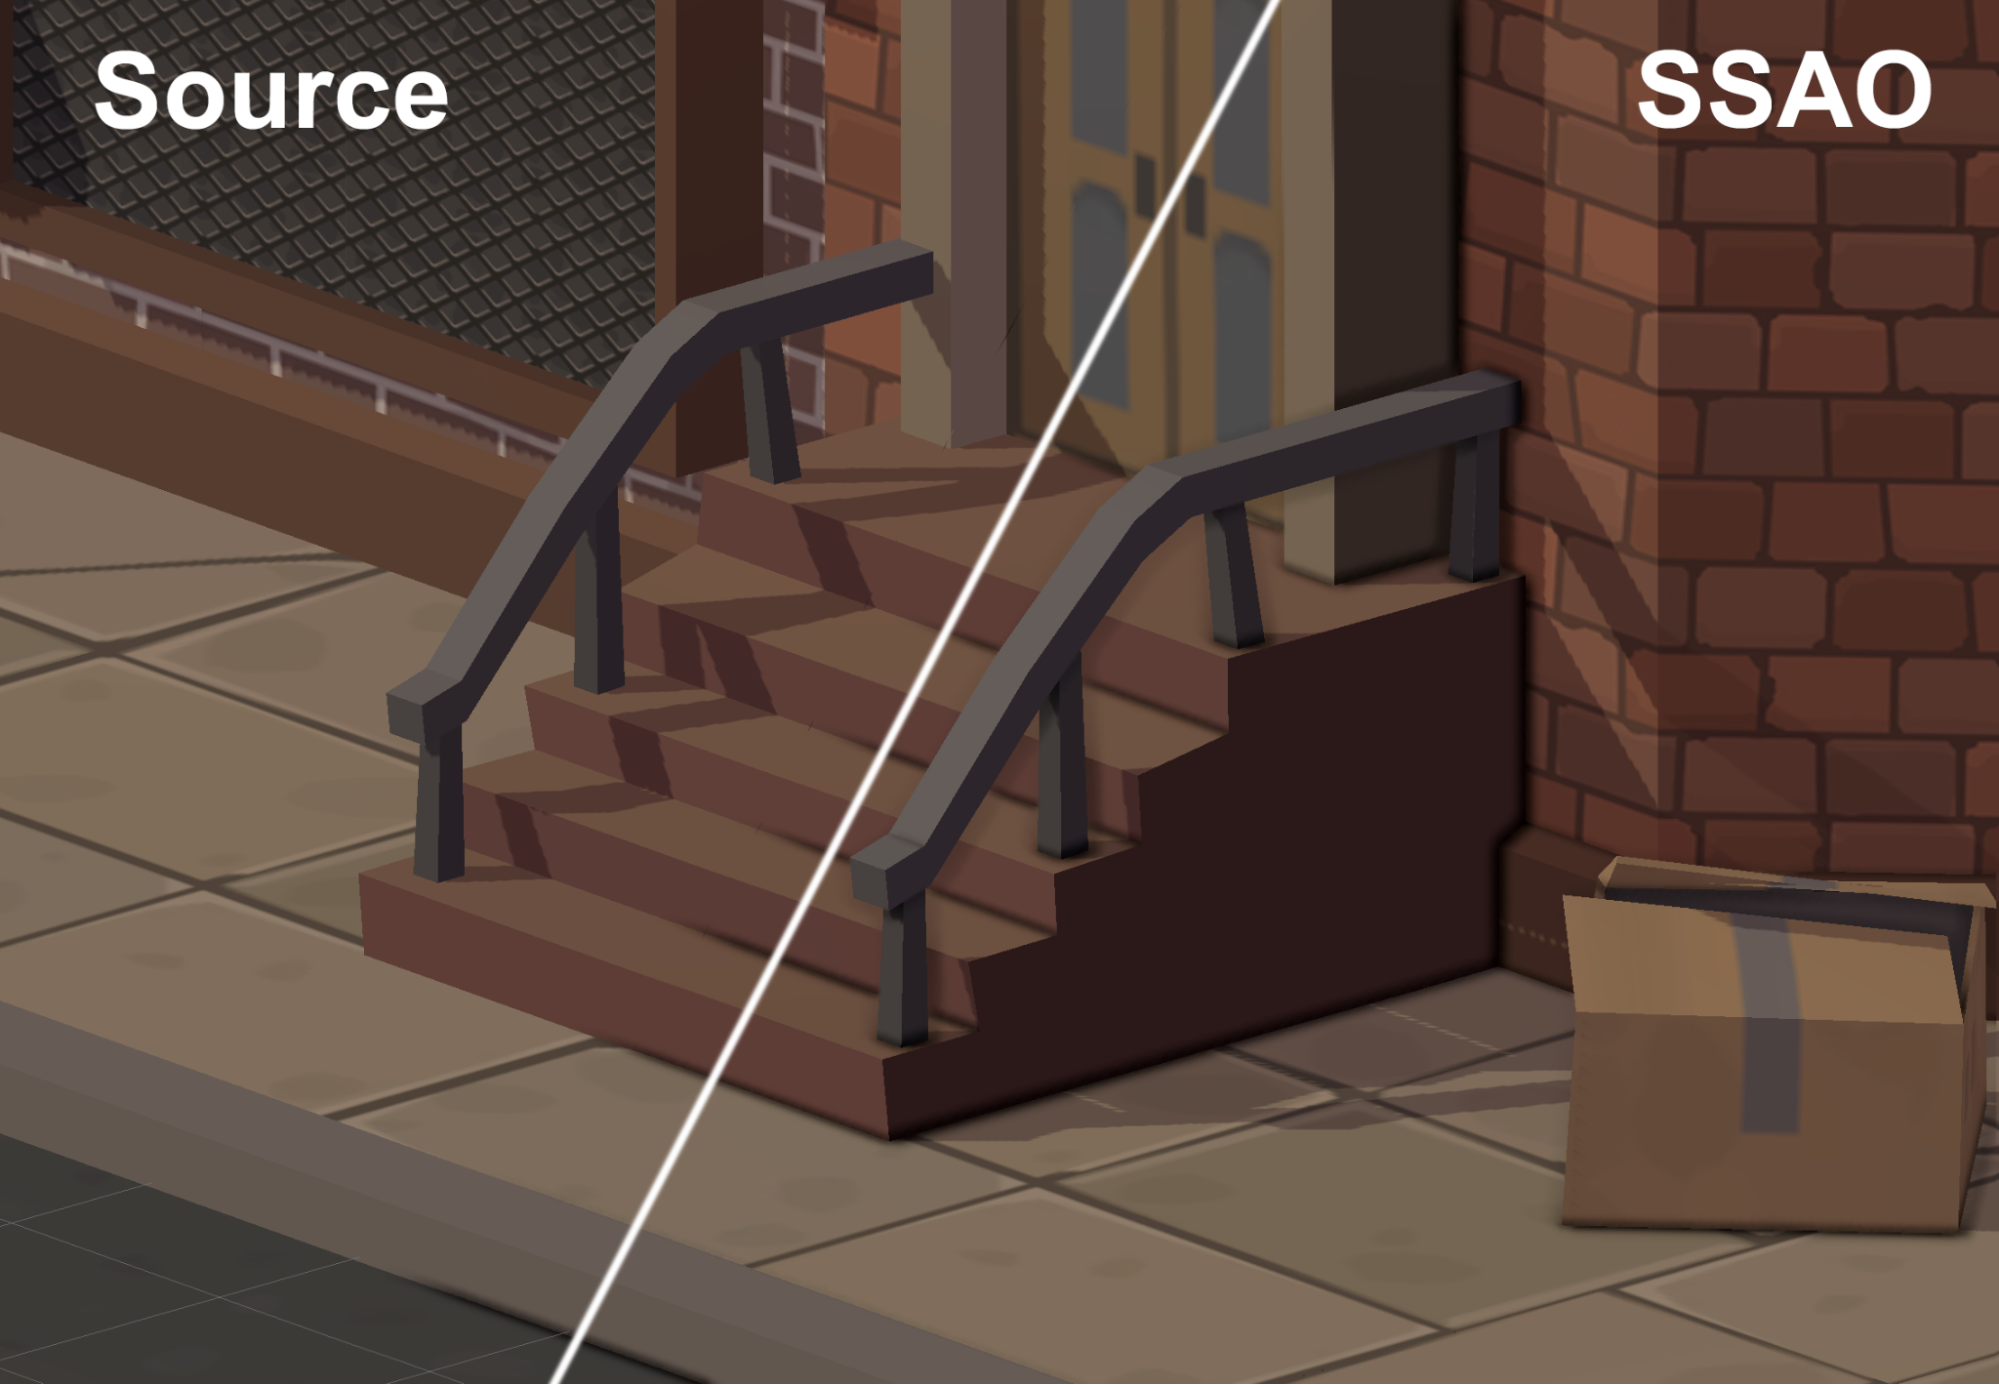
Ambient Occlusion is a post-processing technique available from Unity 2020.2. This effect darkens creases, holes, intersections, and surfaces that are close to one another. In the real world, such areas tend to block out or occlude ambient light, thereby appearing darker.
See how you can implement real-time Screen Space Ambient Occlusion (SSAO) effect as a Renderer Feature using URP.
5. Decals
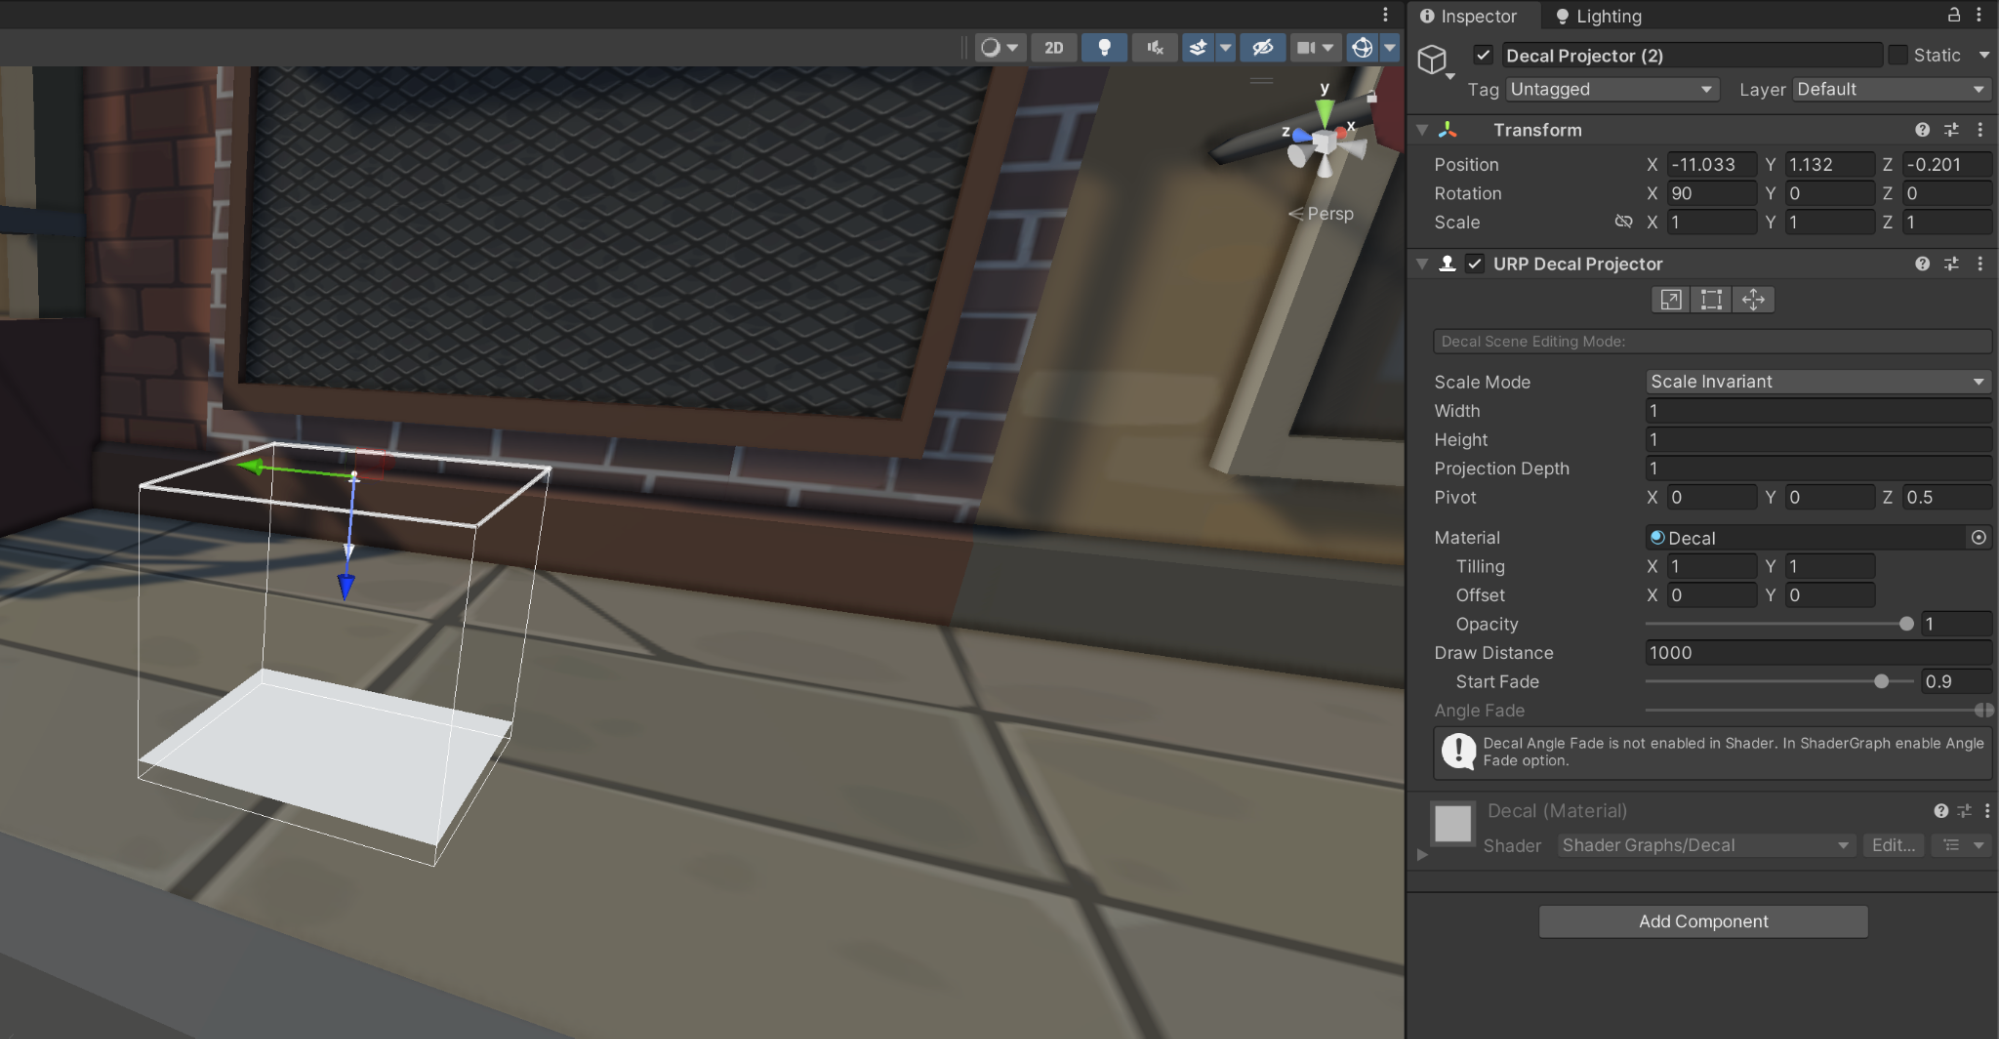
Decals are a great way to insert overlays onto a surface. They’re often used to add visuals such as bullet holes or tire treads to the game environment as the player interacts with the scene.
If you want to follow along this recipe, you’ll work with URP Decal Projection properties, creating the material, and even adding a decal with code.
6. Water
The water recipe is created in Shader Graph to make the steps more accessible. It’s built in three stages:
- Creating the water color
- Moving tiled normal maps to add wavelets to the surface
- Adding moving displacement to the vertex positions to create a swell effect
While this recipe forms the basis of a simple water shader, you can enhance it using Caustic Reflections, Refraction, and Foam.
7. LUT for color grading
Using LUT Textures is an efficient way to create dramatic color grading, and this approach can be useful in many games. It involves using one filter, but the steps employed apply to all of them.
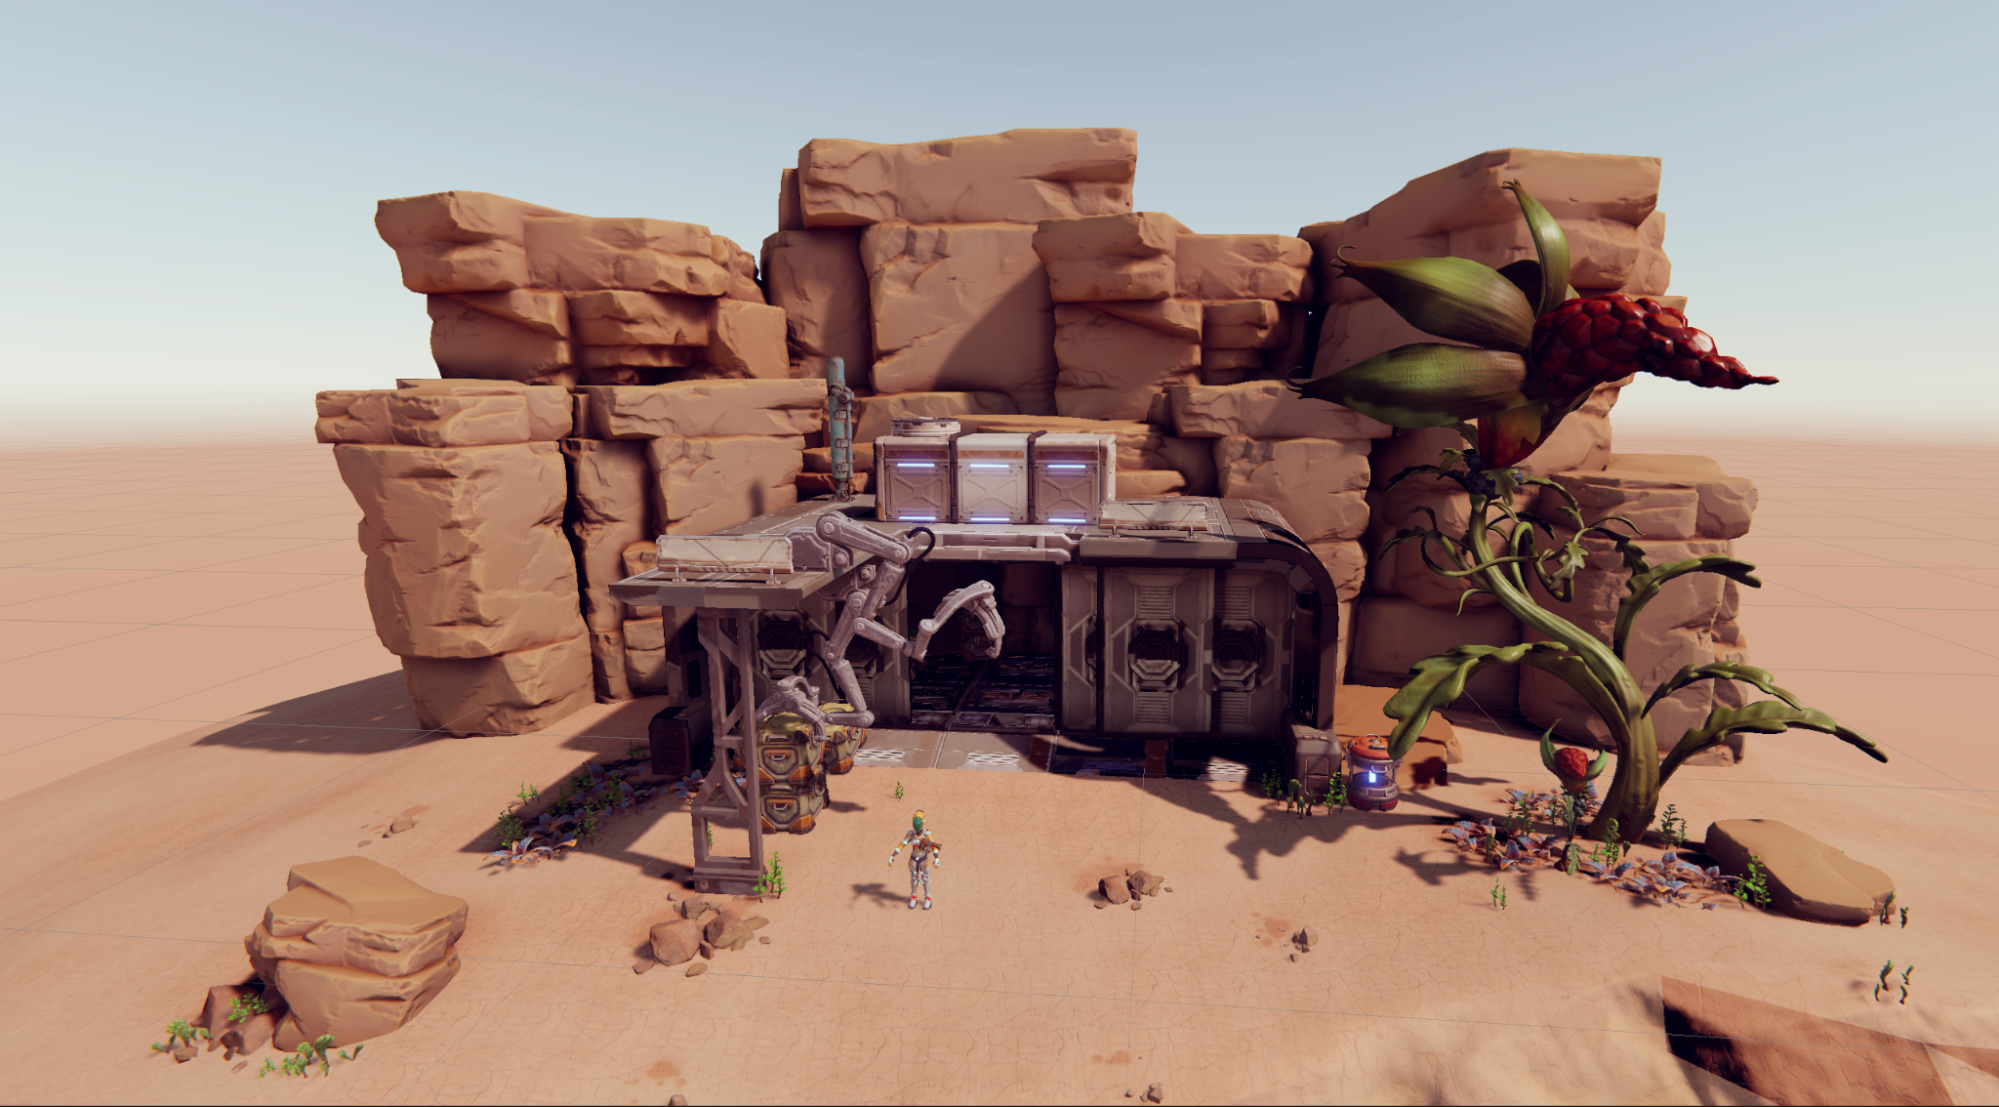
8. Lighting
Lighting with URP is similar to using the Built-in Render Pipeline. The main difference is where to find the settings.
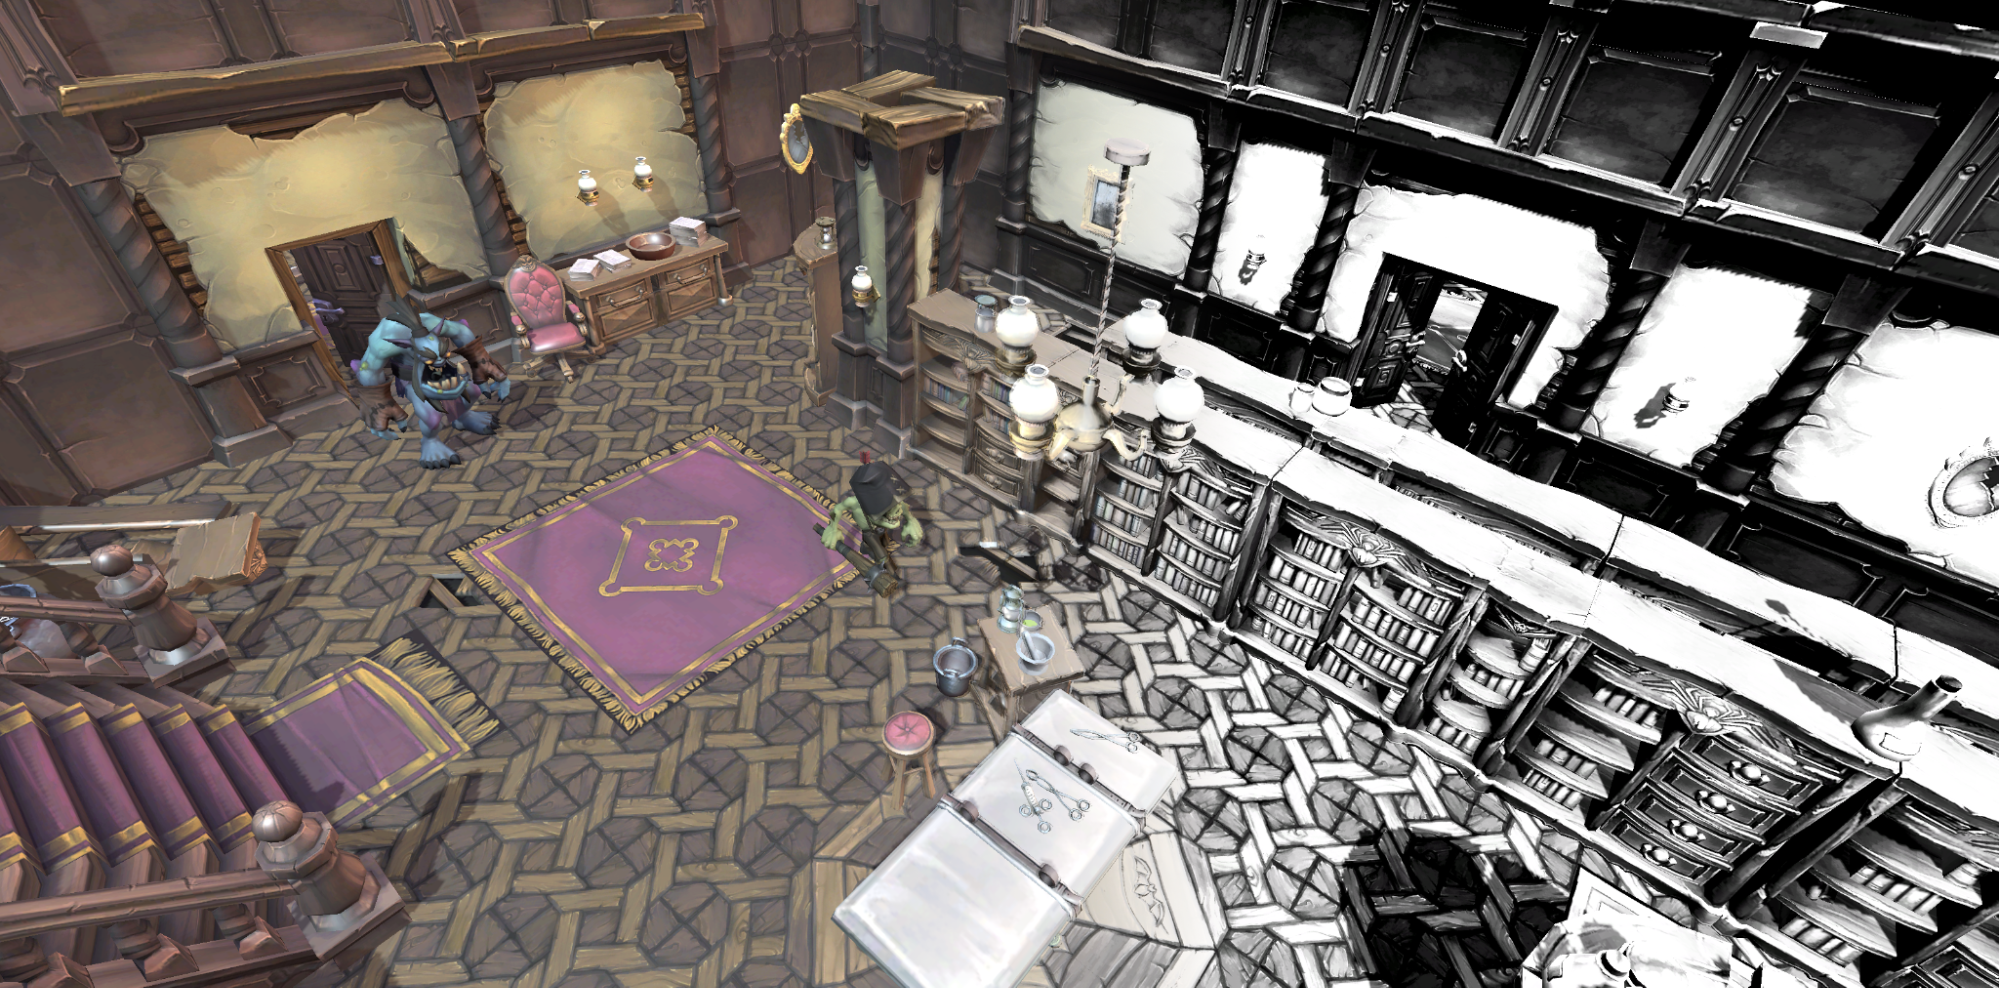
This chapter in the cookbook covers related recipes for real-time lighting and shadows, including baked and mixed lighting using the GPU Progressive Lightmapper, Light Probes, and Reflection Probes. You’ll pick up enough instruction for a five-course meal!
A few things to keep in mind about shaders and color space: When using lighting in URP, you have a choice between a Lit Shader and Simple Lit Shader, which is largely an artistic decision. If you want a realistic render, you can use the Lit Shader, but if you want a more stylized render, you can use Simple Lit for stellar results.
9. Shadows
Shadow settings are set using a Renderer Data object and a URP Asset using URP. You can use these assets to define the fidelity of your shadows.
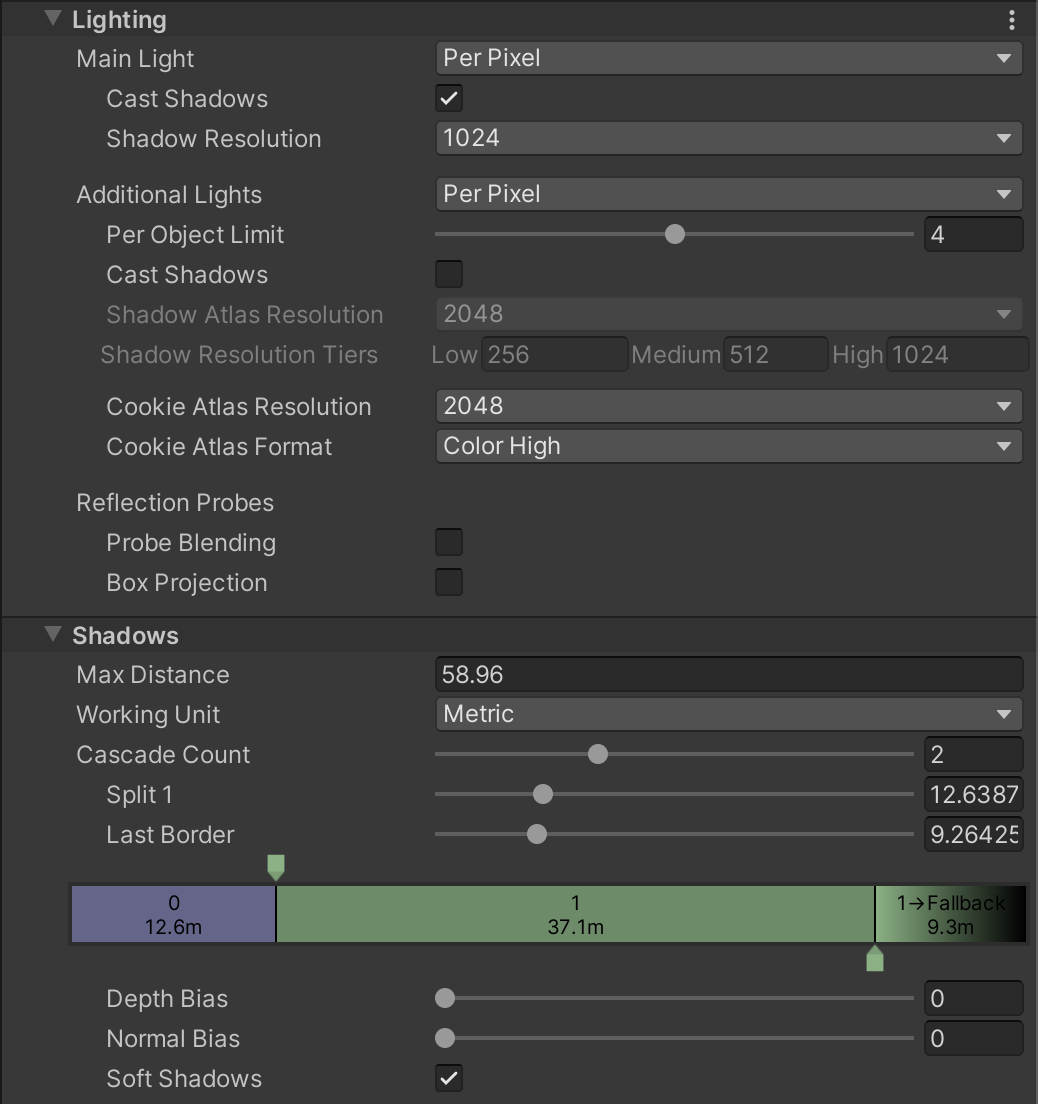
This recipe includes tips for: Main Light and Shadow Resolution, Shadow Cascades, baking lights, and more.
10. Light Probes
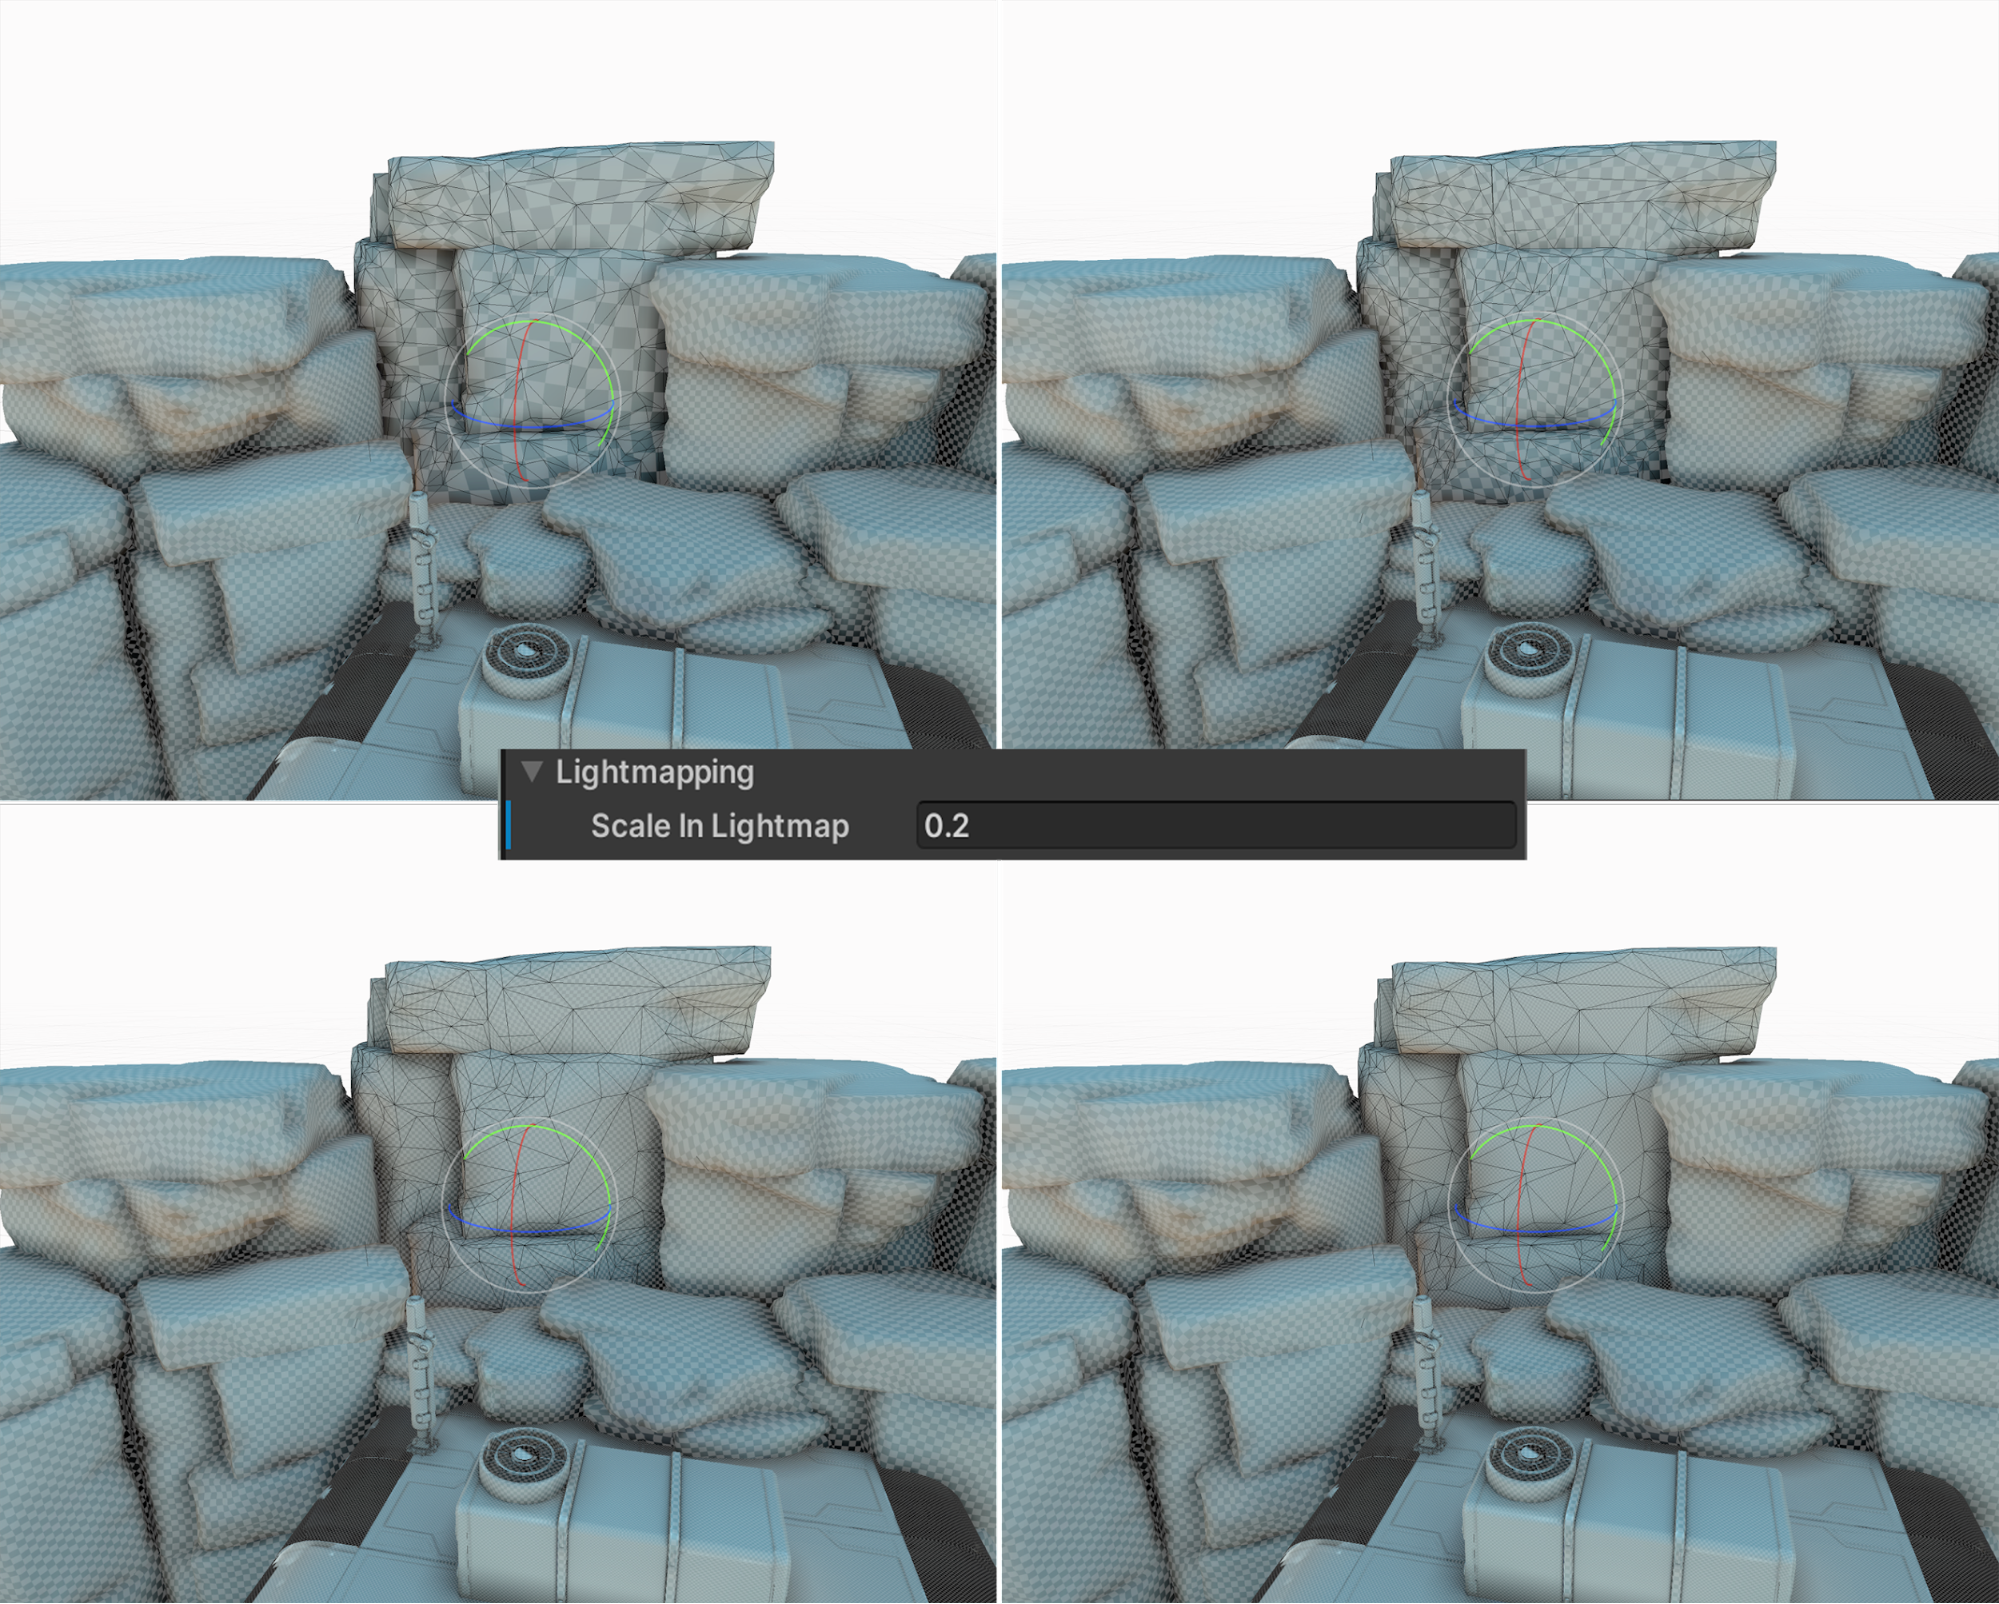
Light Probes save the light data at a particular position within an environment when you bake the lighting by clicking Generate Lighting via Window > Rendering > Lighting panel. This ensures that the illumination of a dynamic object moving through an environment reflects the lighting levels used by the baked objects. It will be dark in a dark area, and in a lighter area it will be brighter.
Follow this recipe to find out how to position Light Probes with a code-based approach in order to speed up your editing, how to use Reflection Probes in your scene, and how to blend them.
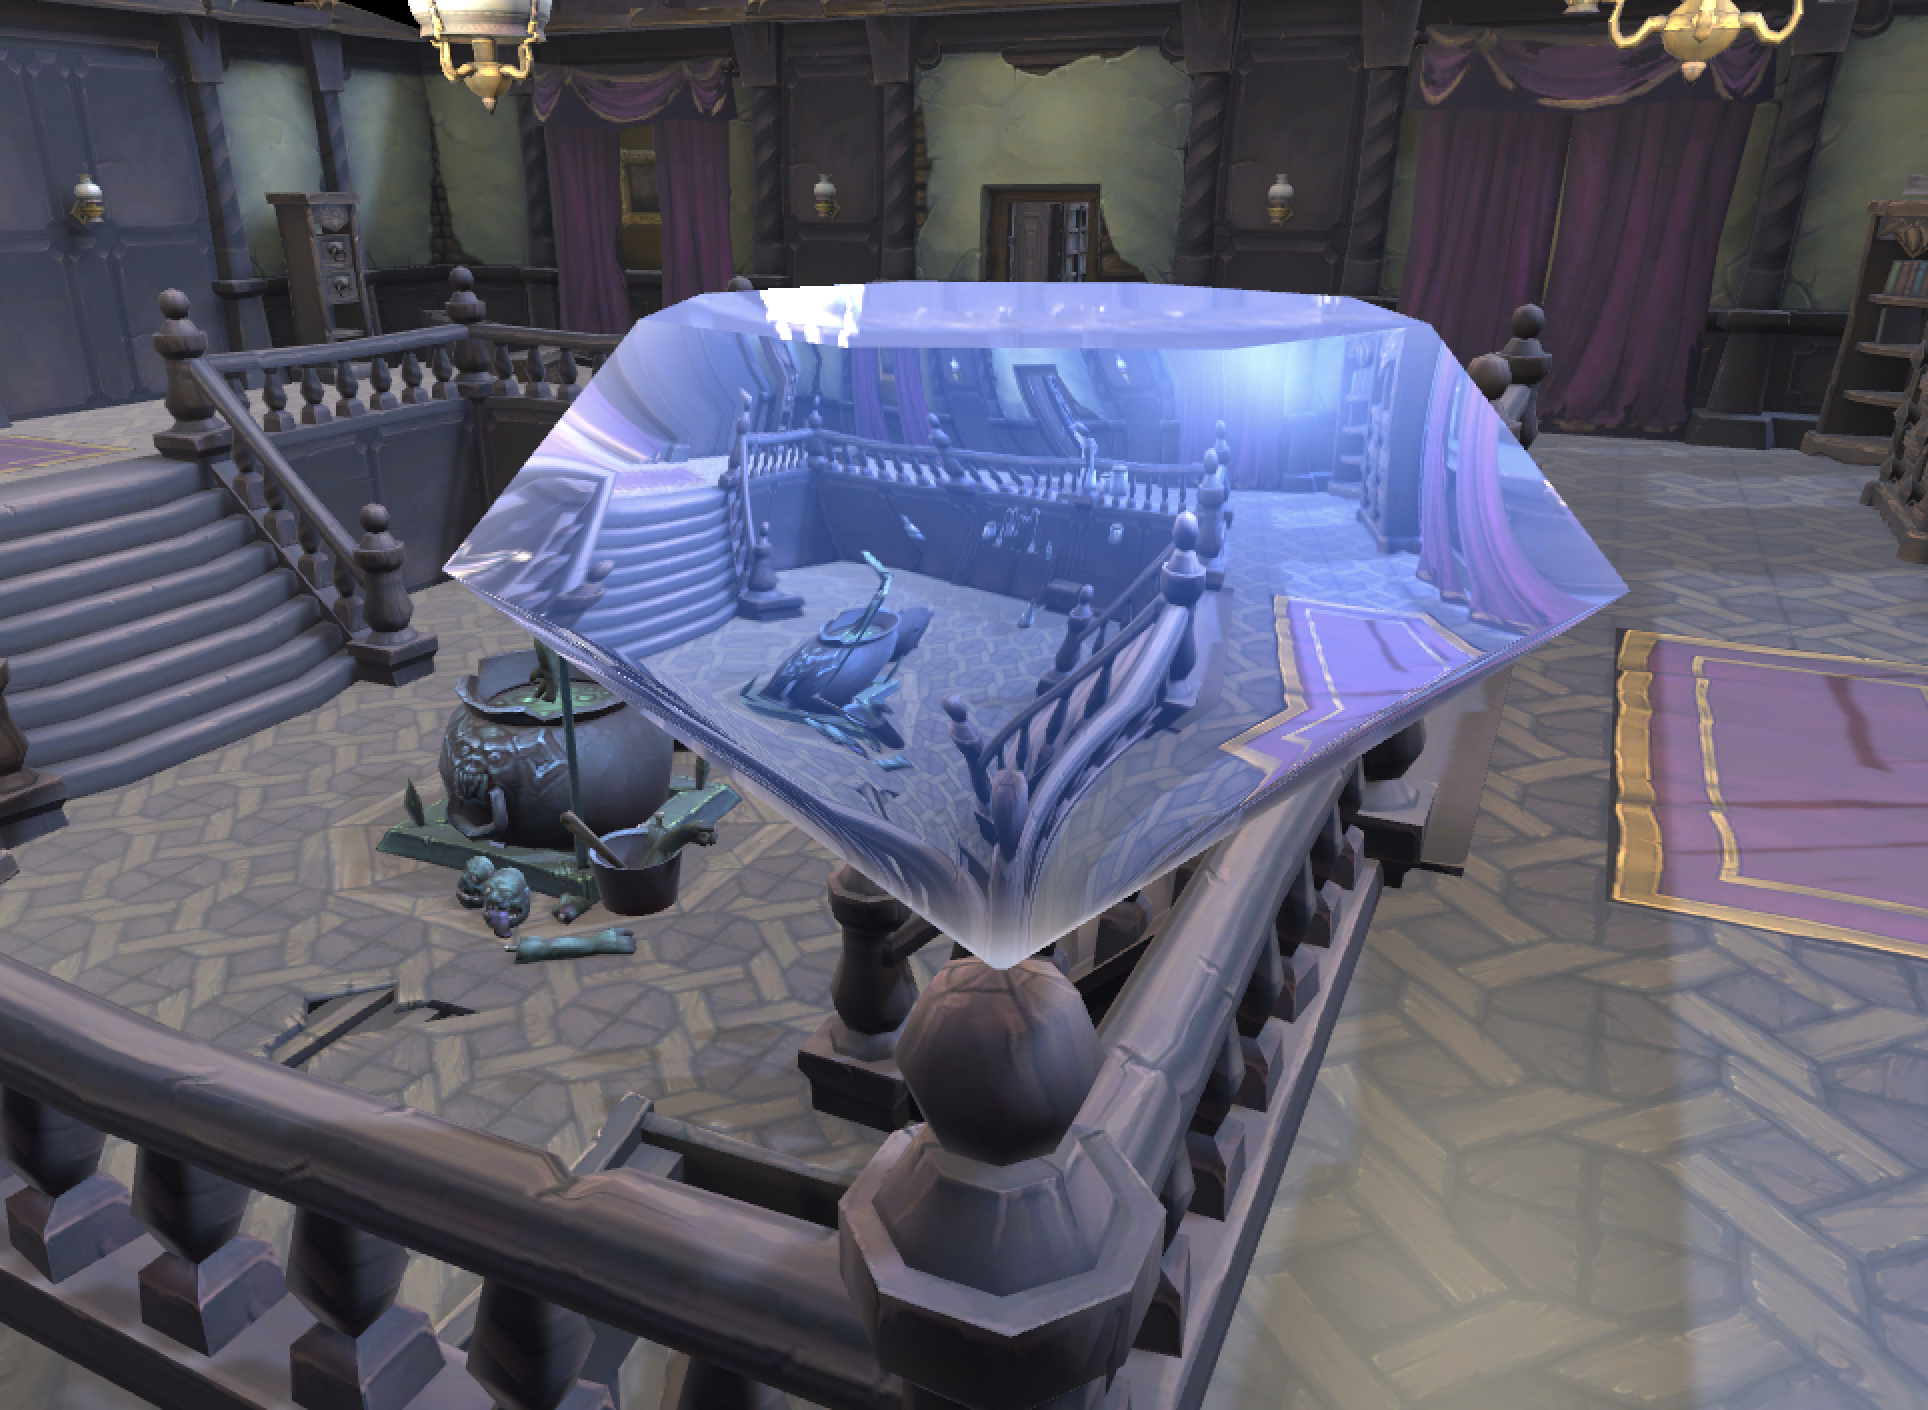
11. Screen Space Refraction
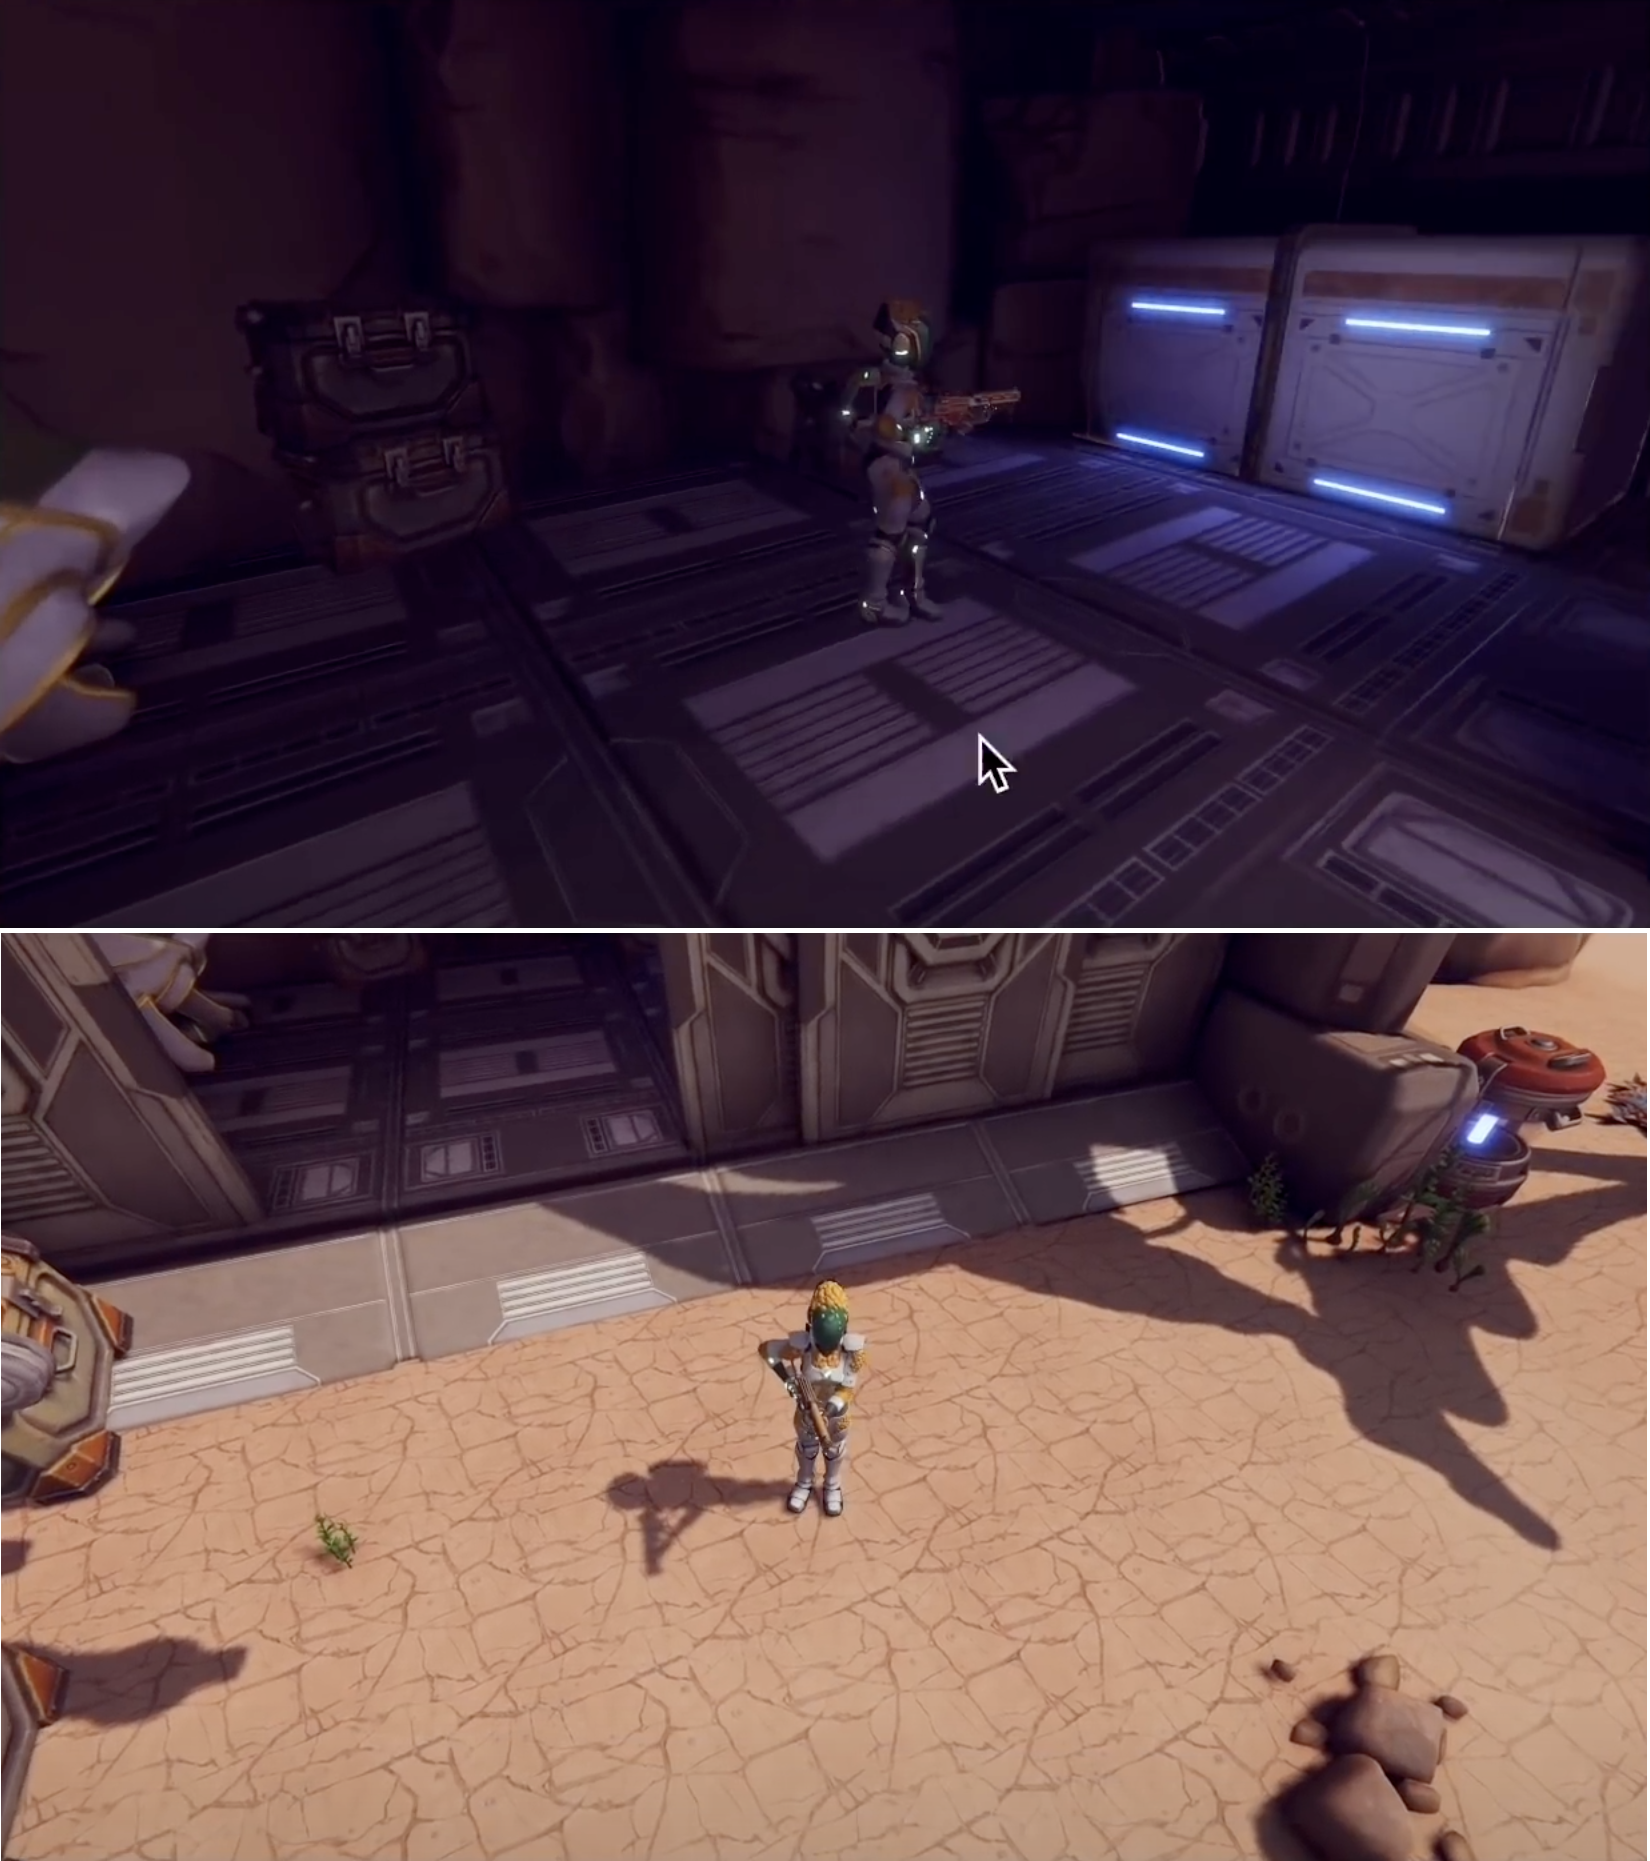
Screen Space Refraction uses the current opaque texture created by the render pipeline as the source texture to map pixels to the model being rendered. This method and recipe is about deforming the UV used to sample the image.
Learn how to use a normal map to create refraction effects as well as tint a refraction effect.
12. Volumetrics
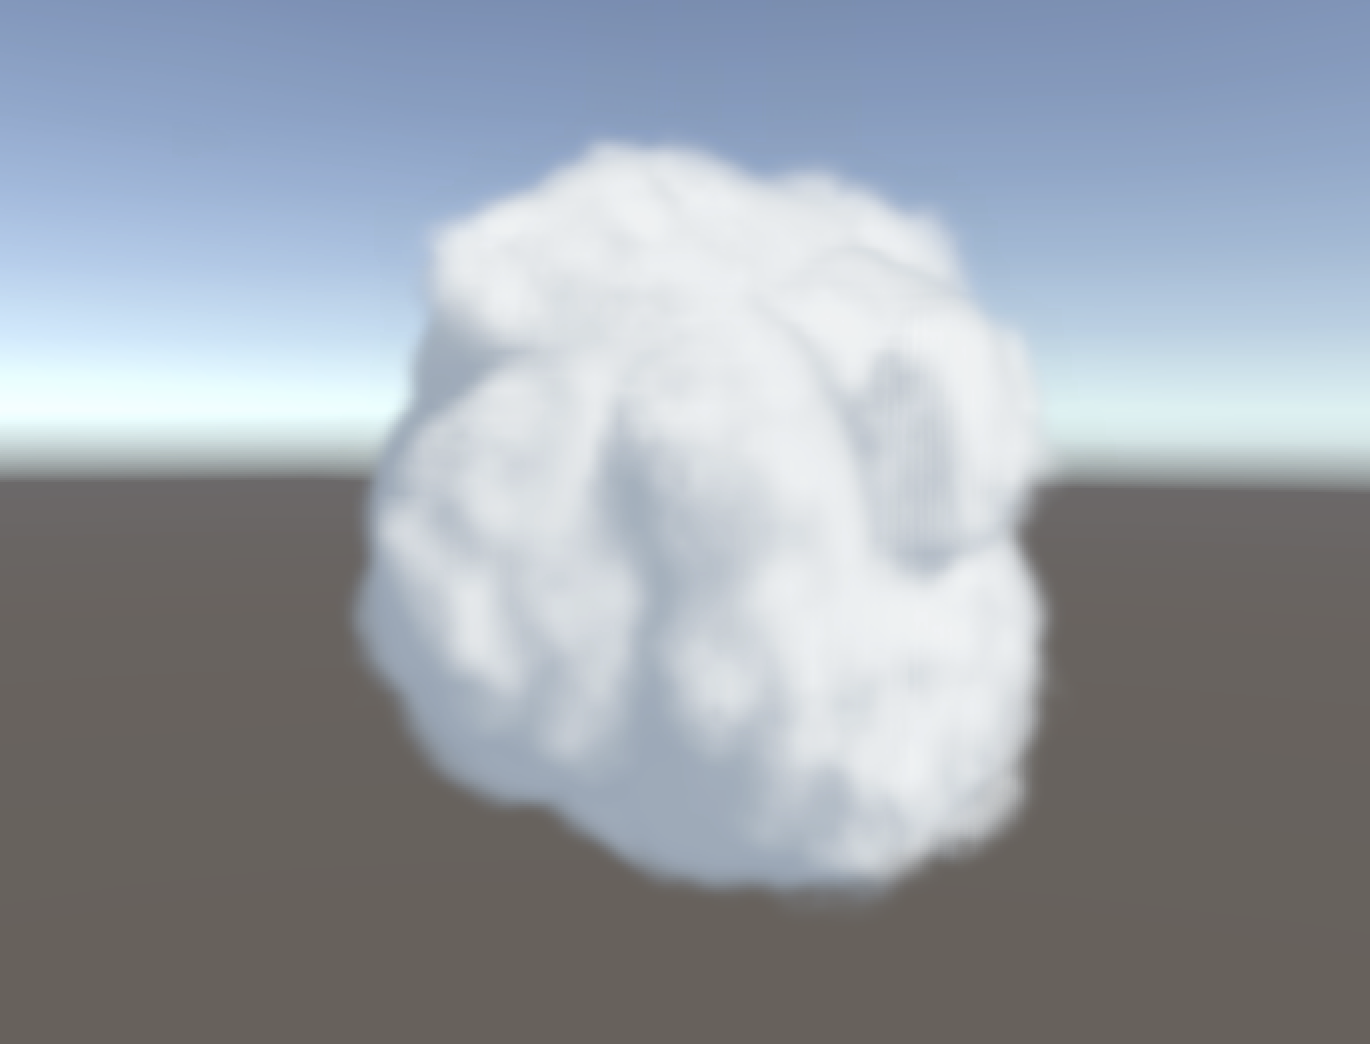
This is a recipe for using ray marching to render a 3D texture. Unity supports 3D textures, which are an array of images placed in a grid on a single texture, rather like a Texture Atlas. The difference is that each image is the same size. Using a 3D UV value, you can source a texel from the grid of images with UV.Z defining the row and column of the individual image to use.
You can also use Houdini when creating the 3D texture. Alternatives to a 3D texture include using multilayered Perlin noise, or prebaking a tileable noise texture using Unity.
More resources
There are many advanced resources available for free from Unity. As mentioned at the beginning of the blog post, the e-book Introduction to the Universal Render Pipeline for advanced Unity creators is a valuable resource for helping experienced Unity developers and technical artists migrate their projects from the Built-in Render Pipeline to the URP.
All of the advanced e-books and articles are available from the Unity best practices hub. E-books can also be found on the advanced best practices documentation page.

And don’t forget my Udemy URP course is available for less than 10 bucks until 9th July