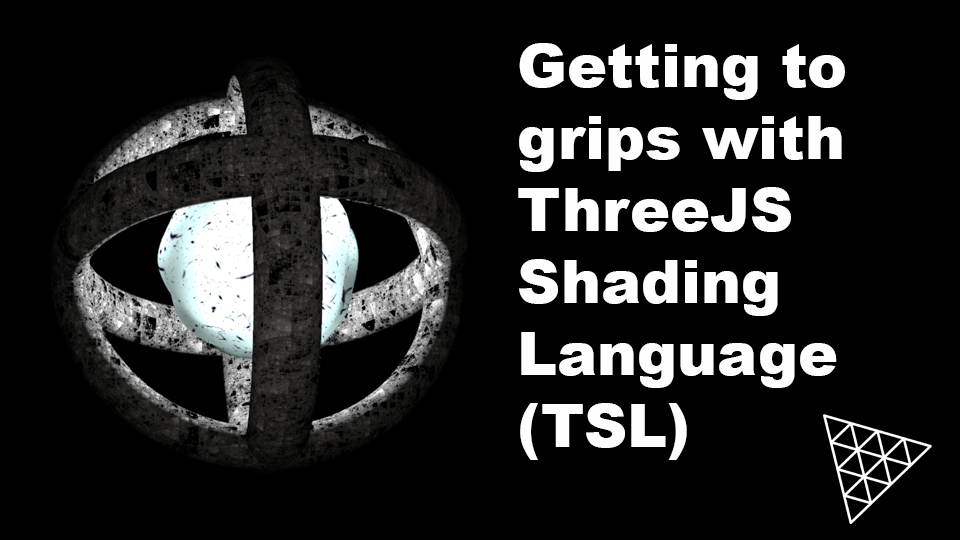
In this lesson we’re going to move the vertices over time. The CodePen below is what we’re creating. Try adjusting the strength, scale and speed controls.
- strength – controls the blend between the displaced vertex and the original location of the modelled vertex.
- scale – controls the scale of the noise used for the displacment.
- speed – controls the rate of change of the displacement.
Now press the JS button.
Notice first the list of tsl imports. Then slide down to the tsl function.
const vNoise = varying(float());
const vPosition = varying(vec3());
Notice vNoise and vPosition are declared as varyings. If you’re new to shaders then a varying will be unfamiliar. Shaders divide the job of rendering a surface into two tasks. First they move the vertices from modelled space to homogeneous clip space. For a vertex to be within the screen window each components xyz location once transformed to homogeneous clip space needs to be in the range -1 to 1. This stage is called the vertex shader.
Having transformed the vertex position the second task is to set the colour for a pixel. This stage is the fragment shader. You can pass data between the vertex and the fragment shader, this type of data in GLSL 1.0 is called a varying, because the value in the fragment shader is an interpolated version of the values of the three vertices of a triangle based on the pixel (fragment) within the triangle. TSL supports varyings if a variable is an instance of a varying.
Recall that we’re trying to reproduce a lava ball, (see the previous lesson). This used a custom GLSL function, turbulence. We need a way of reproducing this. Here’s a remix of the ThreeJS TSL Transpiler . It converts GLSL into TSL. This is a useful and quick way to get the TSL code. pnoise in the GLSL version is a Perlin noise function. The ThreeJS library comes with just such a function mx_noise_float that is an import for the CodePen example above.
Notice the line that includes void main(). This is the original code for the GLSL vertex shader. My attempt at reproducing this is the posFunc Fn function.
const posFunc = Fn(() => {
  vNoise.assign(
    turbulenceFunc(
      normalLocal.mul( 0.5 ).add( time )
    )
  );
  ...
First we assign the vNoise varying, using the turbulence function. It takes a modified normalLocal as the input.
...
const b = mx_noise_float(
    positionLocal.mul( noiseScale )
      .add(
        vec3(2).mul(
          time.mul( noiseSpeed )
        )
      )
    );

  const displacement = vNoise.add(b);

  vPosition.assign(positionLocal);
  ...
Than we create the b value, again using mx_noise_float. This takes a modified positionLocal as the input. Now we’re able to create the displacement value. We assign the vPosition value to be positionLocal. This will be used in the next lesson.
...
const pos = positionLocal.add(
    normalLocal.mul(displacement)
  ).toVar();

  vNoise.assign(vNoise.mul(noiseStrength));

  return mix(positionLocal, pos, noiseStrength);
})
pos is set to positionLocal plus normalLocal multiplied by the calculated displacement value. Finally we adjust the value of vNoise scaling it by the noiseStrength uniform and return a blend of the newly calculated position and the original position based again on the noiseStrength uniform.
Now we have the posFunc function we assign this as material.positionNode.
In the next lesson we’ll update the colours used for the rendered object.
If you find these articles useful, perhaps you can buy me a coffee by clicking the button below. It might encourage me to write more.
Signup to my mailing list.
